Getting Started
After creating an account and logging in, click the Add Property button to get started.
Fill out the details of your property and select a Code Strategy for generating access codes.
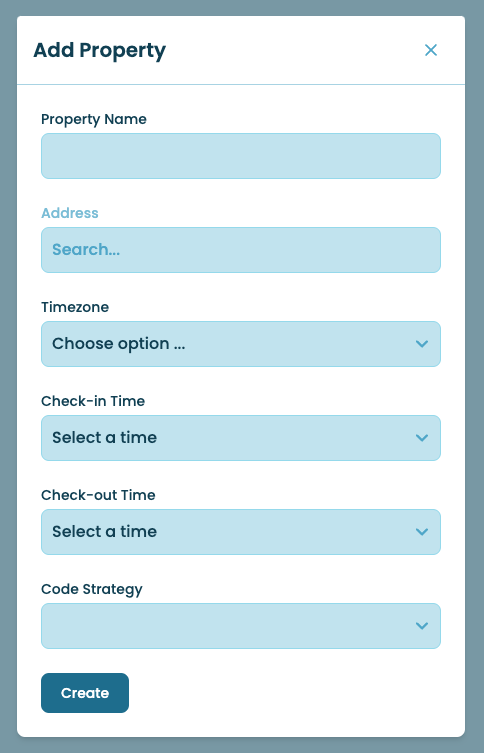
- Property Name: This can be anything you like to identify the property.
- Address: Enter the address of the property.
- Timezone: For your convenience, this will be automatically selected based on the address.
- Check-in Time: The time you would like guest access to start for a reservation.
- Check-out Time: The time you would like guest access to end for a reservation.
- Code Strategy: Choose an option below. Refer to our guide, Choosing
a Code Strategy to learn more about the options.
- - Unique: Generate a unique access code per reservation
- - Phone Last 4: Use the last 4 digits of the guest phone number
Note
For locks that support scheduling of access codes, the code will be sent to the lock 72 hours in advance,
and will be active for the exact times you specify for check-in/check-out. For locks that don't support
advanced scheduling, the code will be sent 30 minutes prior to the specified check-in time and removed 30
minutes
after the check-out time.Tip
Since guests sometimes arrive a little early or check-out a little late, we recommend setting your locks'
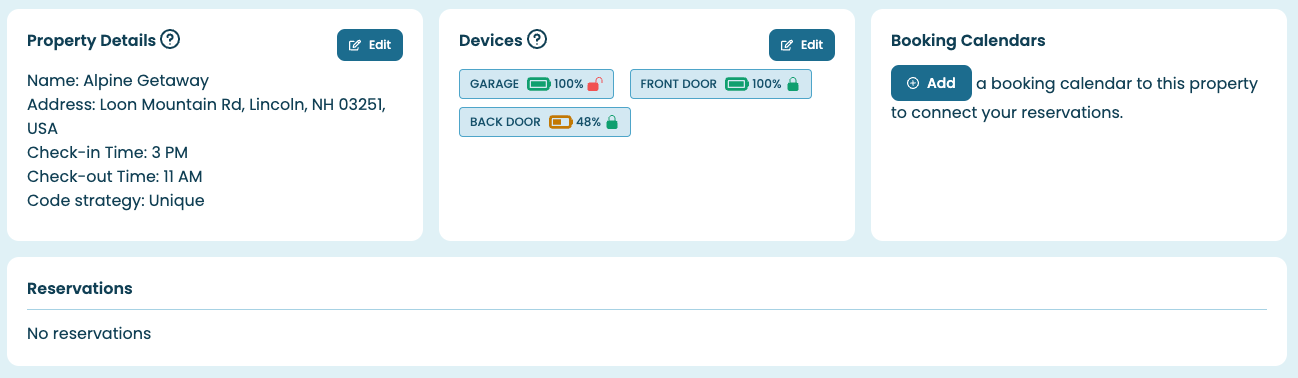
Check-in Time an hour earlier and your Check-out Time an hour after what is indicated in your listing.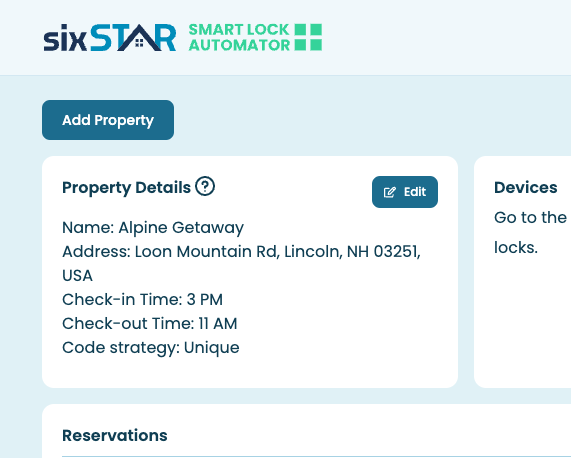 After submitting the form you will return to the main screen where you can see the property details. You can
update the details at any time by clicking Edit button in the Property Details panel.
After submitting the form you will return to the main screen where you can see the property details. You can
update the details at any time by clicking Edit button in the Property Details panel.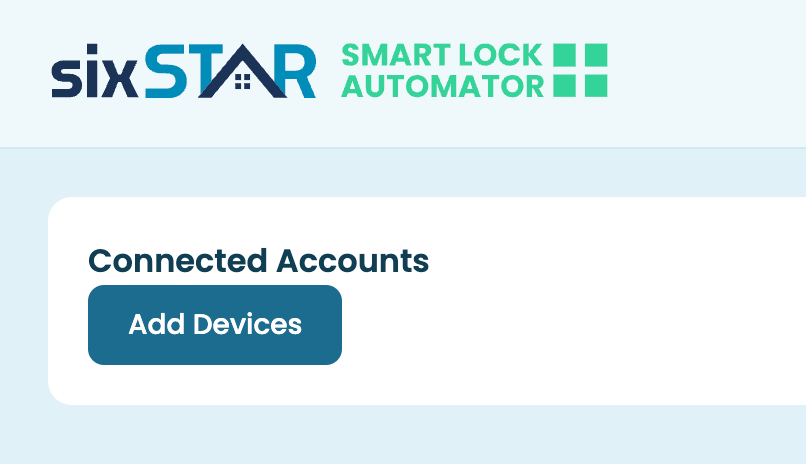 The next step is to connect your smart locks. Click on the Add Devices button or navigate to the Devices page
from
the top menu. On that page click Add Devices under Connected Accounts.
The next step is to connect your smart locks. Click on the Add Devices button or navigate to the Devices page
from
the top menu. On that page click Add Devices under Connected Accounts.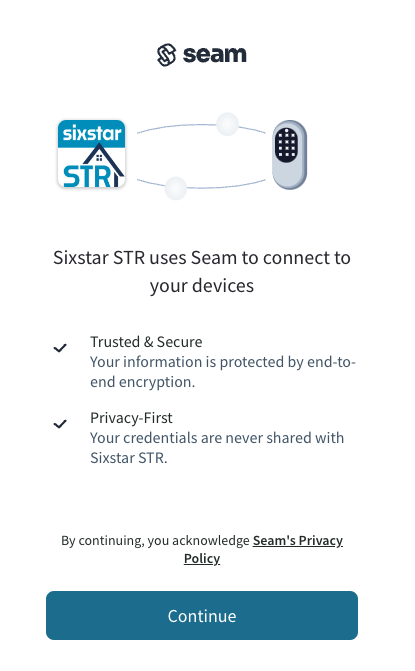 You will be presented with an information page by our device connection partner, Seam. After reading through
this page, click Continue.
You will be presented with an information page by our device connection partner, Seam. After reading through
this page, click Continue.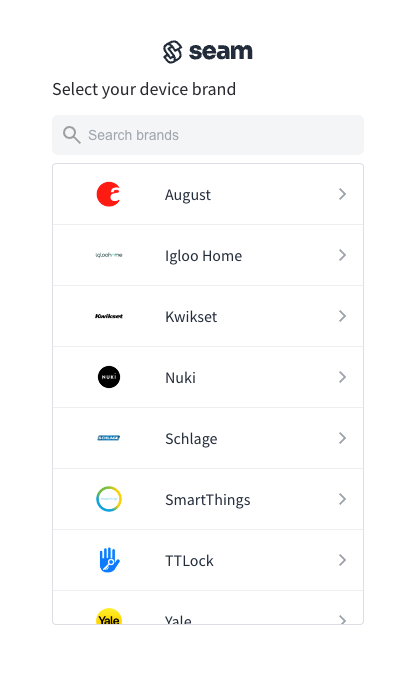 On the next page select your device provider from the list and click Continue.
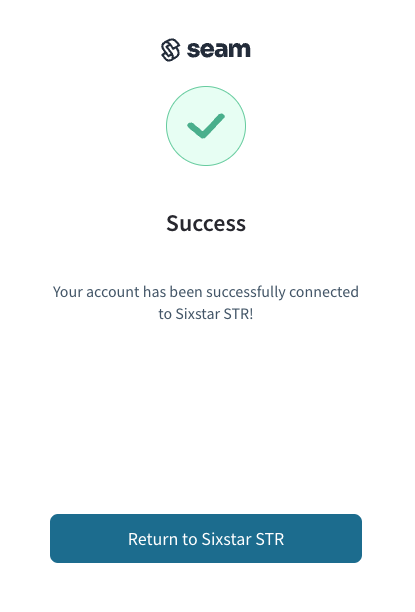 After connecting click "Return to Sixstar STR" to view and manage your devices.
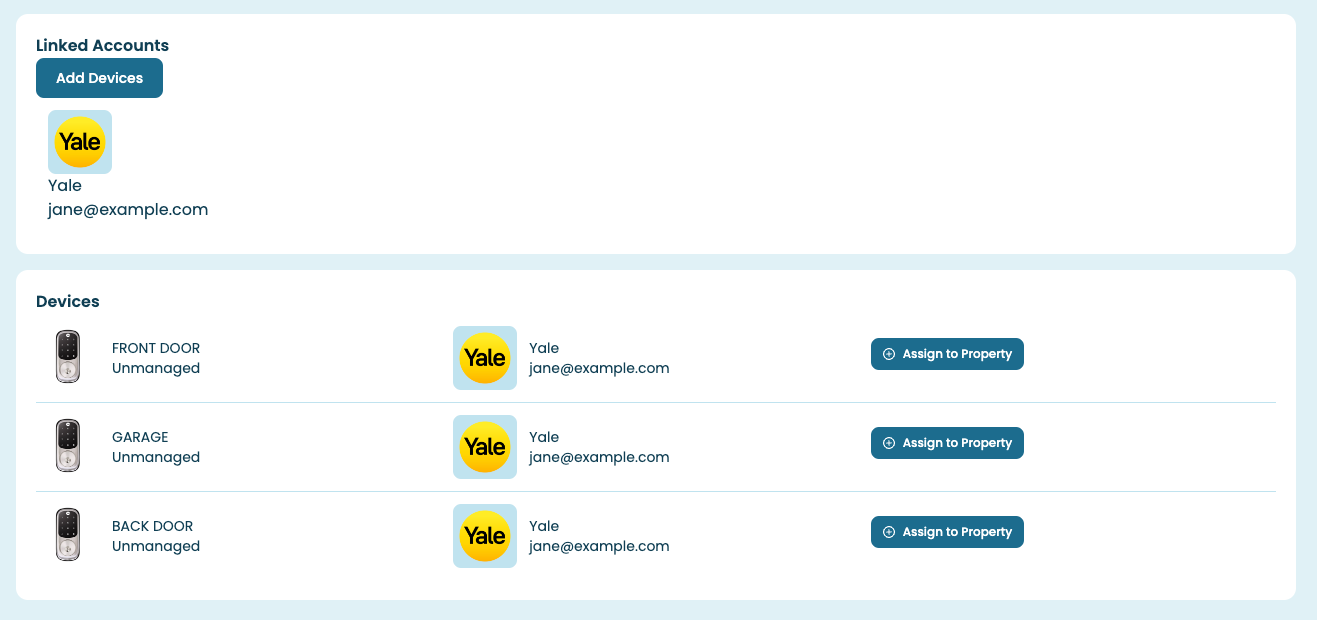
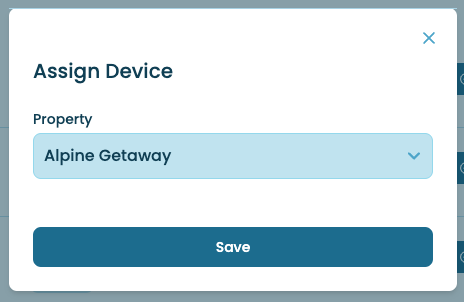 In the Assign Device popup, select the property and click Save. Repeat for each device you would like to
associate.
In the Assign Device popup, select the property and click Save. Repeat for each device you would like to
associate.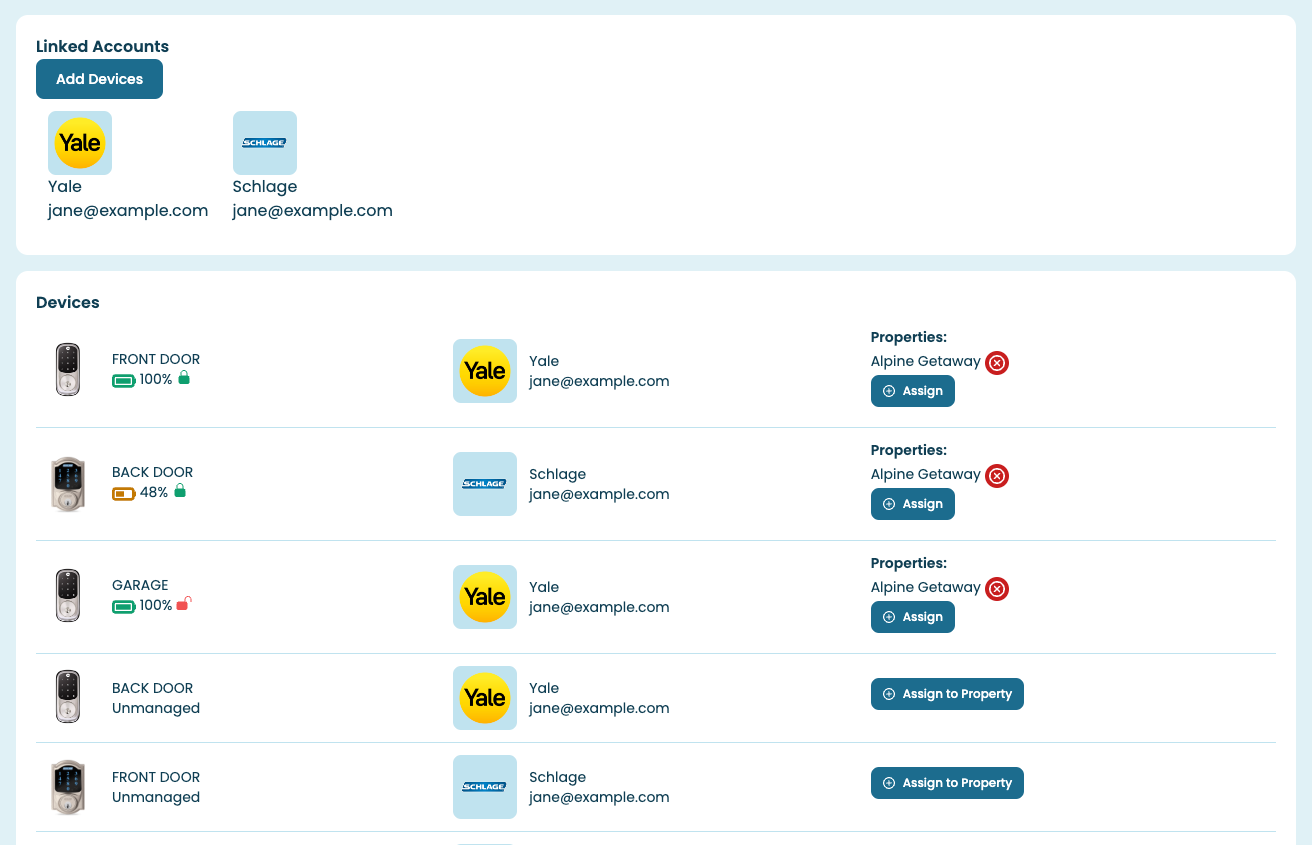
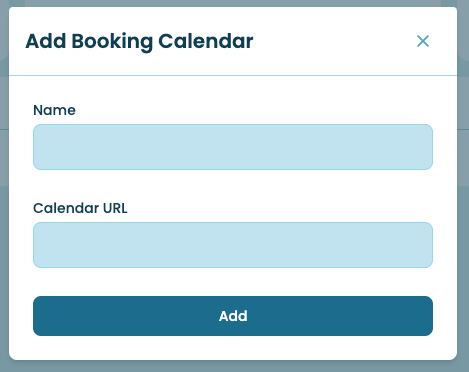
Enter a name for the calendar. This can be anything you like. Copy your calendar url from your listing site (e.g. Airbnb or VRBO) and paste it in the Calendar URL box. Click Add.
Instructions to get the Calendar URL: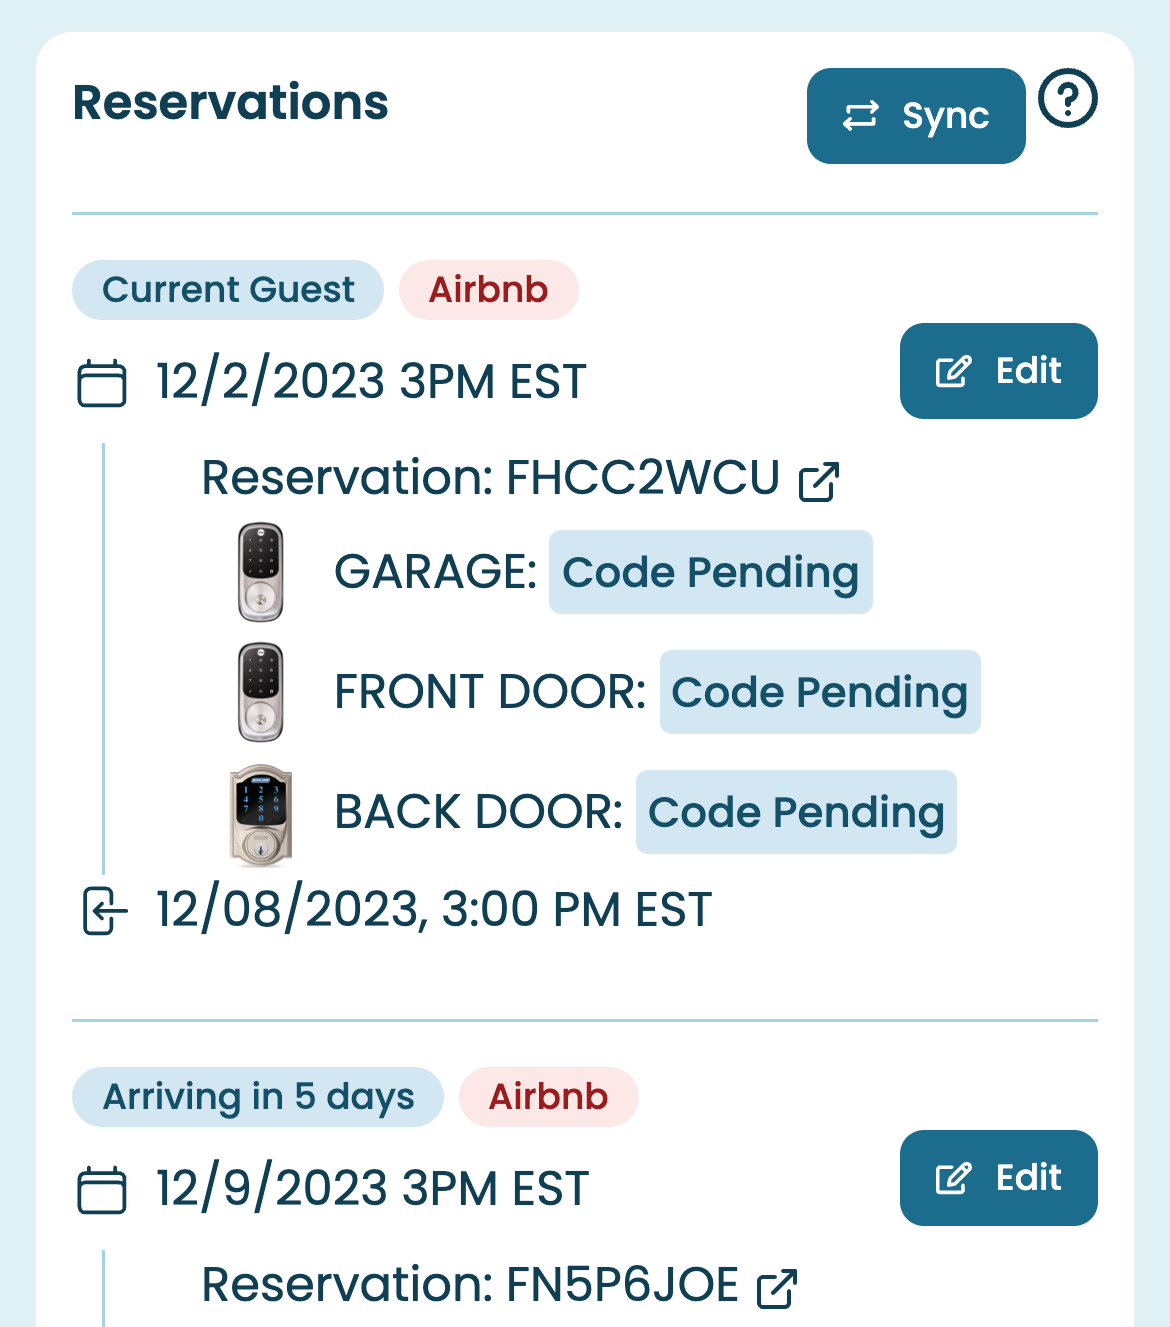 After adding the booking calendar your reservations will appear. It will say "Code Pending" at first.
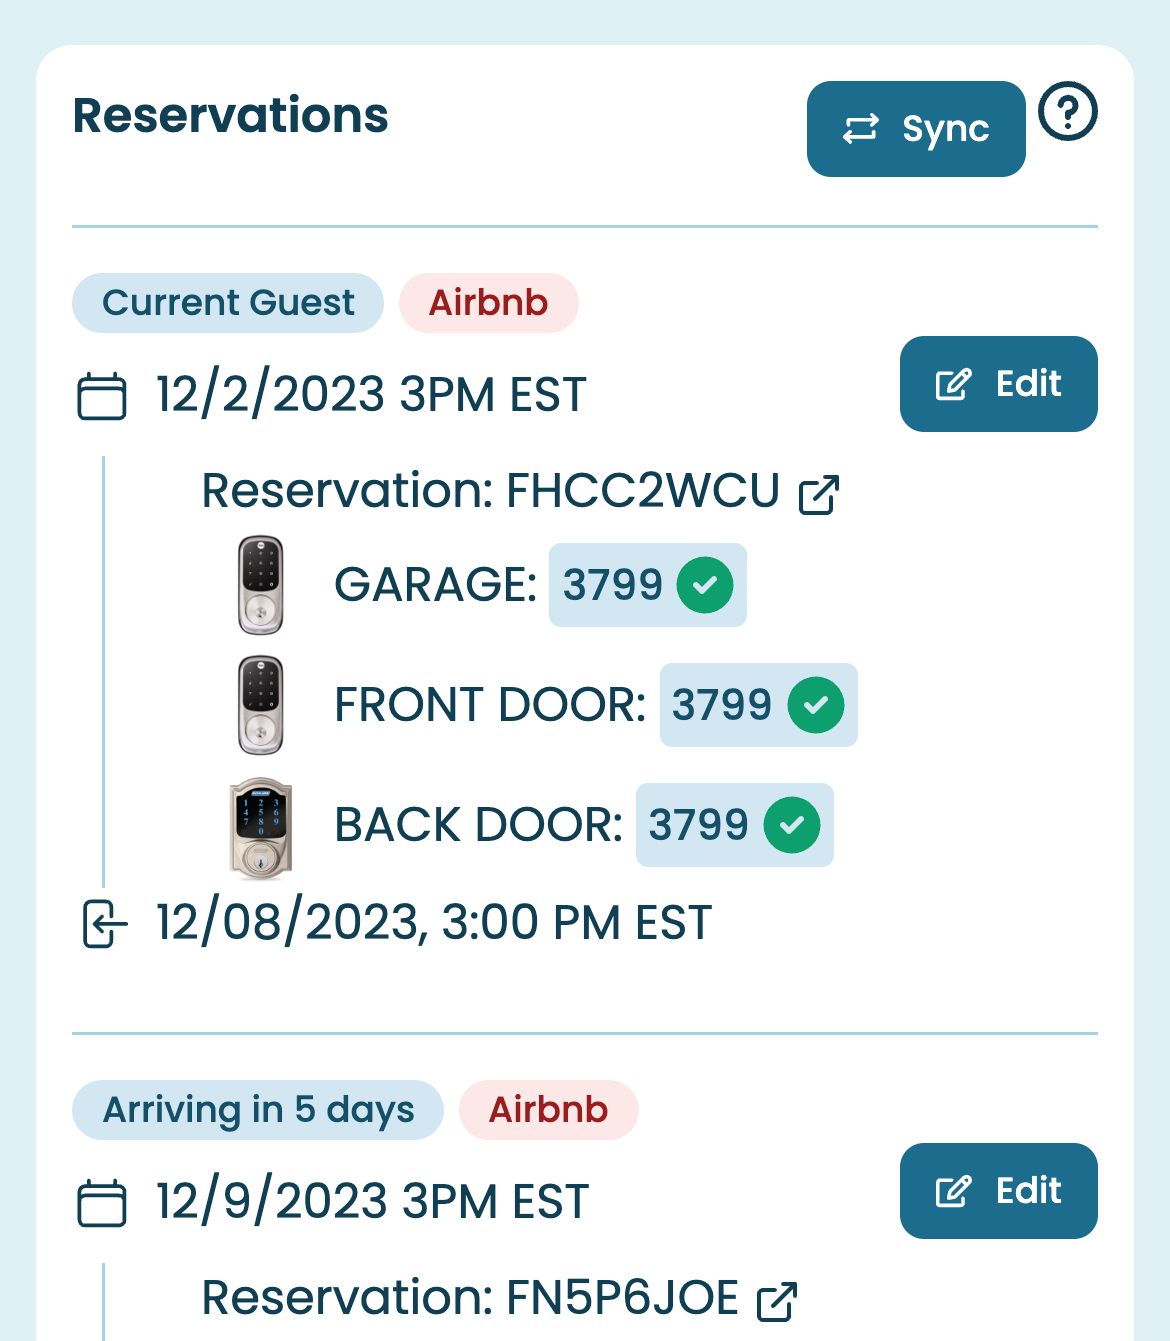 Reservations and codes are automatically updated hourly, but if you would like to set them immediately click the Sync
button in the upper right of the Reservations panel.
Reservations and codes are automatically updated hourly, but if you would like to set them immediately click the Sync
button in the upper right of the Reservations panel.